Installing and configuring WSUS servers
A key issue system administrators deal with today is keeping client and server computers updated with the latest software patches and security updates. This becomes a cumbersome task when you have to deal with a large environment with many different computer configurations that require many different security updates and software patches.
Luckily for us, Microsoft has included a server role in Windows Server 2012 R2 called Windows Server Update Services, or WSUS, to make this task a bit easier to manage. With WSUS, we are able to download and manage a distribution of updates to the proper Windows clients and servers. We can then configure computers to obtain automatic updates from the WSUS server that is pre-approved by the administrator.
It’s a wonderful feature in Windows Server 2012 R2 and we are going to go through the process of installing and configuring a WSUS server in this blog post!
Installing Windows Server Updates Services
Install it using the following steps with the options below:
- Open server manager, on the dashboard, click on “Add Roles and Features”, then click Next.
- Select “Role-based or feature-based installation”, then click Next.
- Select a Server or virtual hard disk you wish to install the WSUS role on, then click Next.
- Select Windows Server Update Services, then click Next.
- On the “Select Features” screen, click Next.
- On the “Windows Server Update Services” screen, click Next.
- On the “Select role services” screen, make sure “WID Database” and “WSUS Services” is selected, then click Next.
- On the “Content location selection” screen, you can specify a path to store updates locally, either on a local path or a remote path, then click next
- Click Install to start the WSUS role installation process.
Configuring Windows Server Update Services
Once the installation process completes, we can launch the post-installation tasks by clicking on the notification icon on the Server Manager Dashboard as seen below to configure the WSUS server.
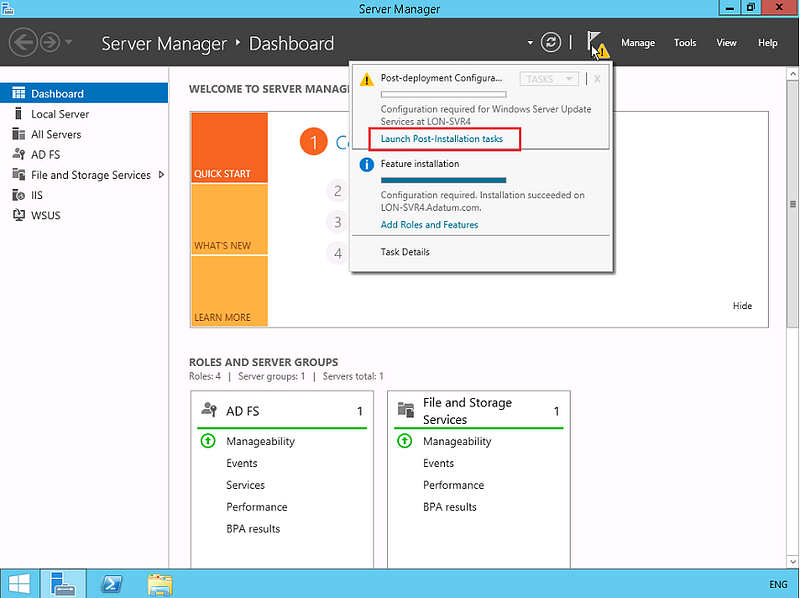
If the “Windows Server Update Services Configuration Wizard” doesn’t pop up after you click “Launch Post Installation tasks”, you can manually start it by going to “Tools” and click “Windows Server Update Services”. That should start the configuration wizard as seen in the screenshot below:
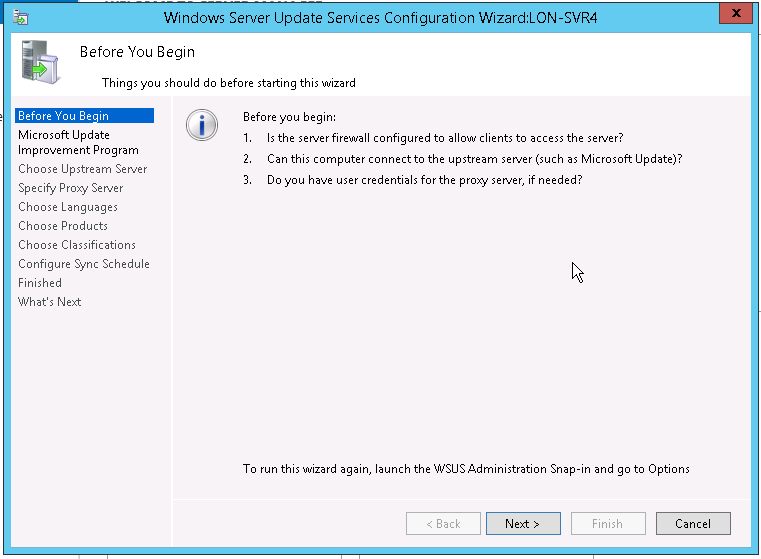
- On the “Before You Begin” screen, make a note of the checklist and make sure you have all the necessary information before you continue.
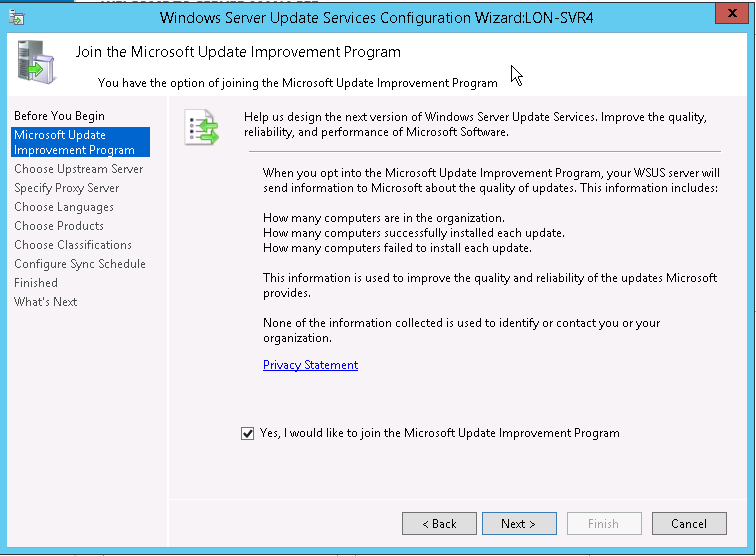
2. On the “Microsoft Update Improvement Program”, you can choose to send Microsoft information to improve the quality and reliability of updates.
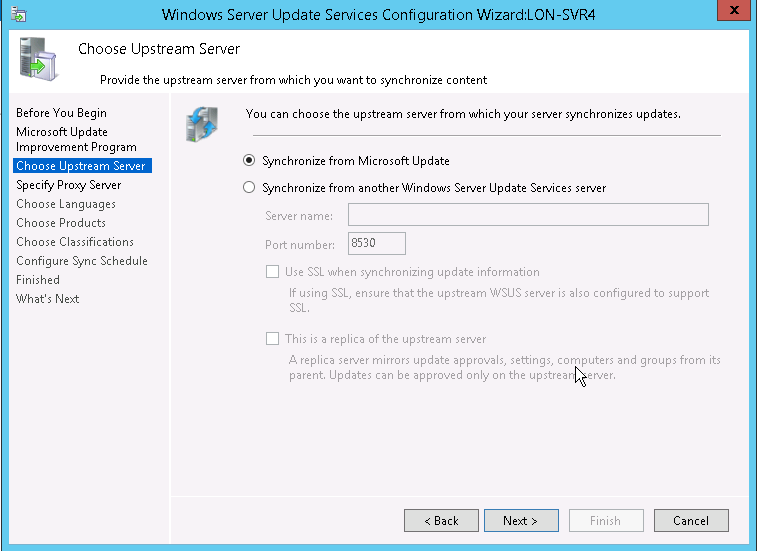
3. On “Choose Upstream Server” screen, we can choose to synchronize updates from Microsoft updates or If we already have another WSUS server, we can set it to sync from that WSUS server. In that setup, the main WSUS server is called the “upstream server” and the servers that sync with it are called downstream servers. We can also set this up to be a replica of the upstream server, which mirrors the update approvals, settings, computers and groups from the parent. Management is done only on the upstream server. Since we don’t have any other WSUS servers set up, we’ll set it to “Synchronize from Microsoft Update”.
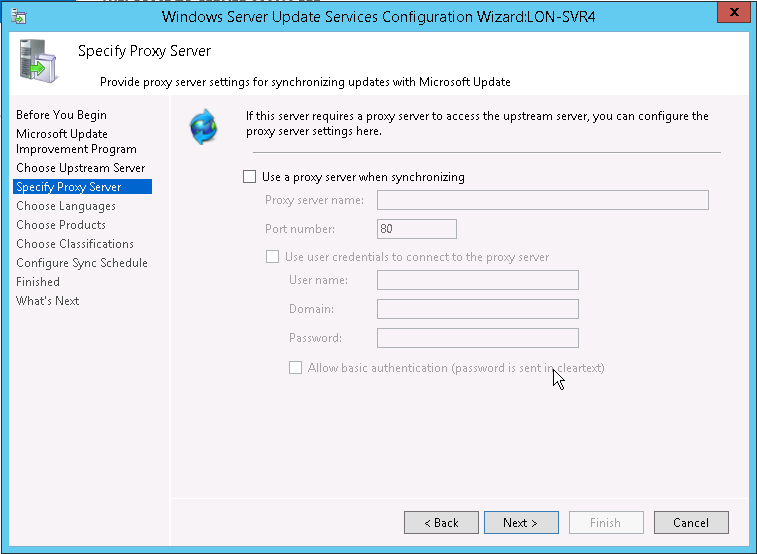
4. On the “Specify Proxy Server”, you can enter the proxy server information, should your environment requires it. For our example, we do not require a proxy server, so we’ll just click Next.
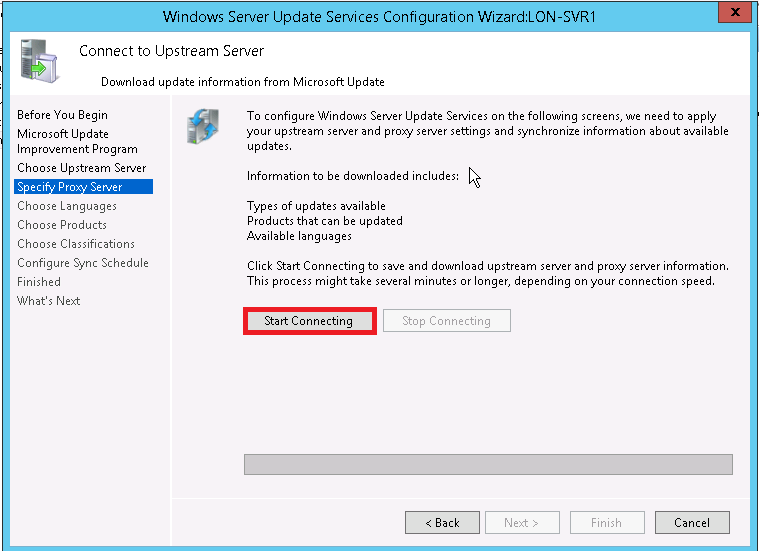
5. On this screen, we’ll click “Start Connecting” to begin downloading information about the types of updates available, products that can be update and available languages. This process can take a few minutes.
6. On the “Choose Languages” screen, you can select to download updates for specific languages, or updates in all languages, depending on what your environment requires.

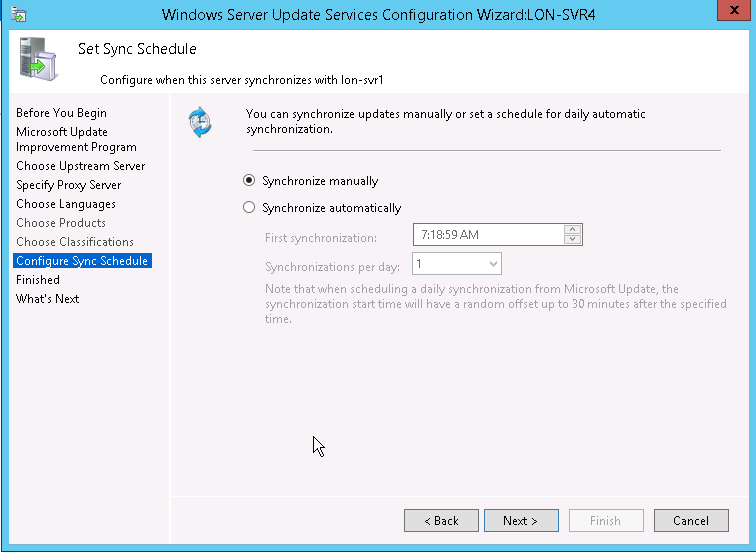
7. On the “Configure Sync Schedule” screen, we can configure how we want to schedule our WSUS server for synchronization. We can set it to sync manually or schedule it to sync automatically.
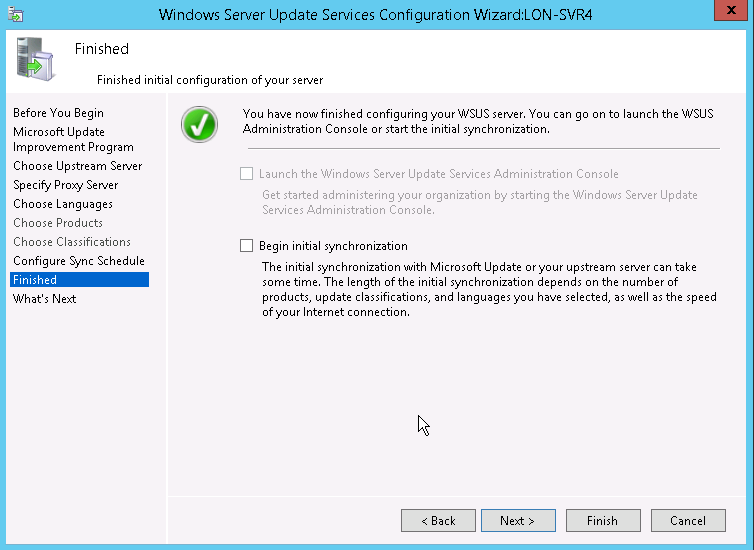
8. On the “Finished” screen, we can opt to begin the synchronization by selecting “Begin initial synchronization”. Click “Finish” to begin synchronization and conclude the WSUS configuration wizard. This process can be quite lengthy depending on the number of product updates, languages selected, and your internet connection.
The ability to manage updates intelligently and centrally is crucial to the efficiency, reliability and security of any large environment. With WSUS, Microsoft has given us a very powerful tool to do just that. To learn more about WSUS and what it can do for your environment, visit the WSUS MSDNwebsite.

Mapping a Network Drive – Windows 10
[RESOLVED] “The client and server cannot communicate, because they do not possess a common algorithm”
